Disclaimer: This post may contain affiliate links. As an Amazon Associate, we earn from qualifying purchases.
Maintaining your HP printer is vital to ensure optimal performance and longevity. With the “How to Properly Maintain Your HP Printer” kit, you’ll have all the tools and resources you need to keep your printer in top shape. From step-by-step instructions on cleaning the printer heads to troubleshooting common issues, this kit is designed to simplify the process of a printer maintenance plan. With regular maintenance, you can prevent costly repairs and enjoy hassle-free printing for years to come.
Regular Cleaning
Regular cleaning is an essential part of maintaining your HP printer and ensuring its longevity. Cleaning not only keeps the printer looking neat and tidy but also helps maintain its performance. Here are some areas that you should focus on when cleaning your printer:
Cleaning the Exterior Surfaces
Start by cleaning the exterior surfaces of your printer. Use a soft, lint-free cloth dampened with water or a mild cleaning solution to gently wipe down the printer’s body, control panel, and any other visible parts. Be sure to remove any dust, dirt, or fingerprints that may have accumulated. Avoid using abrasive materials or harsh chemicals that could damage the printer’s surface.
Cleaning the Paper Tray and Input Trays
Next, clean the paper tray and input trays. These areas are prone to accumulating dust and debris, which can lead to paper jams and other printing issues. Remove any paper from the trays and wipe them down using a dry, lint-free cloth. If there is visible dirt or debris, you can use a soft brush or compressed air to remove it carefully. Make sure the trays are completely dry before placing the paper back in.
Cleaning the Printer Rollers is Part of Printer Maintenance Plan
Properly functioning printer rollers are crucial for smooth paper feed and print quality. Over time, these rollers can accumulate dust and lint, causing them to become less effective. To clean the rollers, turn off the printer and unplug it from the power source. Then, open the printer’s access door to expose the rollers. Wipe them with a damp, lint-free cloth to remove any debris. Avoid using excessive moisture or cleaning fluids as they can damage the rollers. Once cleaned, make sure the rollers are completely dry before closing the access door.
Cleaning the Print Heads
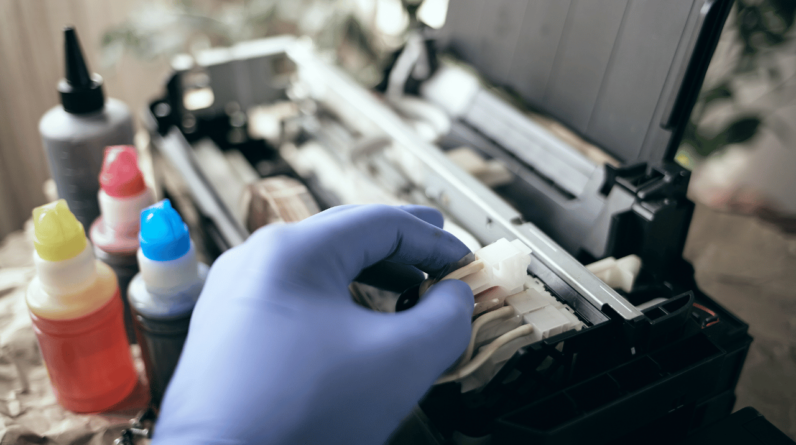
Print heads are responsible for delivering precise and accurate ink placement on the paper. Over time, they can become clogged or dirty, resulting in poor print quality. To clean the print heads, access the printer’s settings or control panel and initiate the print head cleaning process. Follow the on-screen instructions to complete the cleaning. Alternatively, you can also refer to the printer’s manual for specific instructions on how to clean the print heads. The printer maintenance plan included regularly cleaning the print heads will help maintain optimum print quality and prevent blockages.
Updating Printer Software and Drivers
In addition to regular cleaning, keeping your HP printer’s software and drivers up to date is crucial for optimal performance. Software updates often include bug fixes, feature enhancements, and compatibility improvements. Updating your printer’s software and drivers is a straightforward process that can be done in a few simple steps:
Checking for Software Updates
To check for software updates, start by accessing the printer’s settings or control panel. Look for an “Update” or “Settings” option that allows you to check for updates. Follow the instructions provided to initiate the update process. If there are any available updates, your printer will download and install them automatically. It is recommended to perform this check regularly as part of the printer maintenance plan to ensure you have the latest software version.
Printer Maintenance Plan Included Updating Printer Drivers
Printer drivers are software programs that facilitate communication between your computer and the printer. Outdated or incompatible drivers can lead to printing errors and poor performance. To update the printer drivers, visit the HP support website and search for your printer model. Navigate to the “Drivers and Downloads” section, and select the appropriate driver for your operating system. Download and run the driver installation file, and follow the on-screen instructions to complete the update. Restart your computer after the installation process is finished for the changes to take effect.
This image is property of images.unsplash.com.
Using Genuine HP Ink Cartridges
Choosing the right ink cartridges for your HP printer is crucial for achieving optimal print quality and performance. While it may be tempting to opt for cheaper third-party cartridges, using genuine HP ink cartridges is highly recommended. Here are some important aspects to consider when it comes to using ink cartridges:
Checking Ink Levels
Regularly checking the ink levels is part of the printer maintenance plan and is essential to ensure uninterrupted printing. Most HP printers have an ink level indicator that can be accessed through the printer’s settings or control panel. Monitor the ink levels to know when it’s time to replace the cartridges or order new ones.
Replacing Empty Ink Cartridges
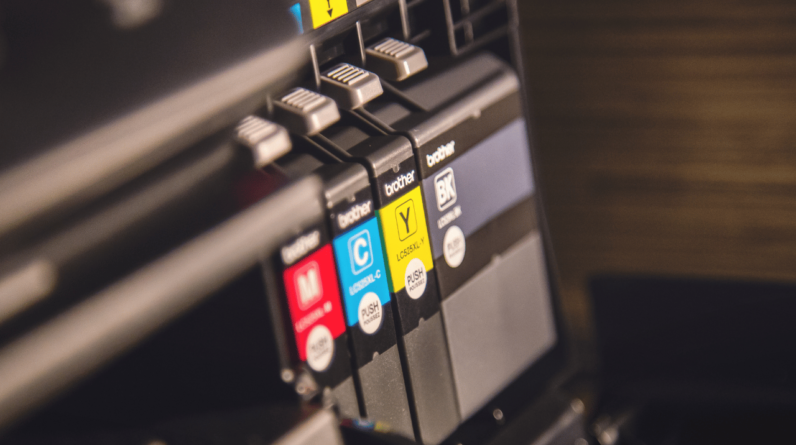
When the ink levels are low or depleted, it’s time to replace the empty ink cartridges. To do this, turn off the printer and unplug it from the power source. Open the printer’s access door and wait for the ink cartridges to move to a accessible position. Carefully remove the empty cartridge by pressing the release tab and gently pulling it out. Insert the new cartridge by aligning it with the designated slot and push it firmly until it clicks into place. Close the access door and plug in the printer to complete the cartridge replacement process.
Storing Ink Cartridges Properly
If you have spare ink cartridges or need to store them for future use, it’s important to store them properly. Keep the cartridges sealed in their original packaging or in an airtight container to prevent them from drying out. Store them in a cool, dry place away from direct sunlight or extreme temperatures. Following these storage guidelines will help maintain the ink cartridges’ quality and ensure optimal printing results when you’re ready to use them.
Proper Paper Handling
Using the correct type and weight of paper is key to preventing paper jams and other printing issues. Additionally, proper paper storage and loading are important for preserving paper quality and enabling smooth printing processes. Here are some tips for proper paper handling:
Choosing the Right Type and Weight of Paper
Before printing, ensure that you are using the right type and weight of paper as recommended by HP for your specific printer model. Different printers have different specifications, and using the wrong type of paper can lead to paper jams, smudging, or even damage to the printer. Refer to the printer’s manual or the HP website for guidance on the compatible paper types and weights.
Storing Paper Correctly
Proper paper storage is crucial for maintaining paper quality and preventing moisture-related issues. Store your paper in a cool, dry place with low humidity levels to prevent it from absorbing moisture, which can cause paper jams. Keep the paper in its original packaging until you’re ready to load it into the printer. Additionally, avoid exposing the paper to extreme temperatures, direct sunlight, or sources of heat, as these can affect paper performance.
Another Thing in the Printer Maintenance Plan is Avoiding Paper Jams
Paper jams are a common occurrence that can disrupt printing and potentially damage the printer. To prevent paper jams, make sure you load the paper correctly into the printer’s tray. Adjust the paper guides to match the width of the paper stack, ensuring a snug fit. Avoid overloading the tray and never mix different types or sizes of paper in the same tray. If a paper jam does occur, follow the printer’s instructions or refer to the manual for steps on how to safely clear it.
Maintaining Optimum Print Quality
To ensure optimum print quality and avoid issues such as blurry prints or faded colors, it’s important to regularly perform maintenance tasks that optimize the printing process. Here are some essential steps to maintain optimum print quality:
Calibrating the Printer
Calibrating the printer ensures that it correctly aligns the ink cartridges and print heads. Calibration adjusts the colors and ensures accurate placement of ink on the paper. To calibrate your printer, access the printer’s settings or control panel and look for the calibration option. Follow the on-screen instructions to initiate and complete the calibration process. It is typically recommended to calibrate the printer after installing new ink cartridges or if you notice any inconsistencies in print quality.
Aligning the Printer Heads
Print head alignment is essential for precise printing and accurate placement of ink droplets on the paper. If you notice misaligned or skewed prints, it may be necessary to align the printer heads. Consult the printer’s manual or access the settings to locate the alignment option. Follow the instructions provided to conduct the alignment process. This will help ensure that your prints are visually appealing and free from any alignment issues.
Performing Print Head Cleaning
Over time, print heads can become clogged or dirty, leading to streaky or inconsistent prints. HP printers often have a built-in print head cleaning function that can be accessed through the printer’s settings or control panel. Initiate the print head cleaning process and follow the instructions provided. This process will help clear any clogs or debris that may hinder proper ink flow. Regularly performing print head cleaning will maintain the print quality and extend the life of your printer heads.
Preventing Overheating
Printer overheating can lead to various issues, including reduced print quality and even hardware damage. To prevent overheating and ensure your printer’s longevity, follow these precautions:
Avoiding Printer Overuse
Using your printer excessively without breaks can cause it to overheat. To prevent this, avoid prolonged printing sessions and give your printer maintenance plan regular intervals of rest. If you have large print jobs, consider breaking them up into smaller batches with cool-down periods in between. Additionally, be mindful of the printer’s duty cycle, which indicates the recommended maximum usage and can be found in the printer’s specifications. Adhering to the printer’s duty cycle will help prevent overheating.
Keeping the Printer in a Well-Ventilated Area
Proper ventilation is crucial for preventing printer overheating. Ensure that your printer is placed in a well-ventilated area with sufficient airflow. Avoid enclosing the printer in cabinets or restricted spaces that limit air circulation. Also, make sure there is ample space around the printer to dissipate any heat generated during operation. Keeping the printer in a well-ventilated area will help dissipate heat and prevent overheating.
Checking and Cleaning the Printer Vents
Printer vents are designed to dissipate heat generated during printing. Over time, these vents can become clogged with dust and debris, obstructing the airflow and leading to overheating. Regularly check the printer’s vents and clean them using a soft brush or compressed air. Gently remove any dust or debris that may have accumulated. Ensure that the cleaning process is done with the printer turned off and unplugged to prevent any damage.
Avoiding Power Issues
Power issues can disrupt printing and potentially damage your printer. To prevent power-related problems, consider the following:
Using a Surge Protector
Using a surge protector can help protect your printer from sudden power surges or spikes. Plugging your printer into a surge protector safeguards it against electrical fluctuations that could damage the internal components. Invest in a high-quality surge protector and connect your printer to it for added protection.
Avoiding Power Fluctuations
Fluctuating power supply can negatively impact your printer’s performance and potentially lead to hardware damage. Ensure that your printer is connected to a stable power source that provides consistent voltage and current. Avoid plugging your printer into outlets that share the circuit with high-power-consuming devices, as this could result in power fluctuations. If you experience frequent power fluctuations, consider using a voltage stabilizer or contacting an electrician to resolve the issue.
Resetting the Printer Power
If you encounter power-related issues or your printer becomes unresponsive, resetting the printer power can sometimes resolve the problem. To reset the power, turn off the printer and unplug it from the power source. Wait for a few minutes, then reconnect the power cable and turn on the printer. This clears any temporary glitches and can help restart the printer without any problems.
Handling Error Messages
Error messages on your printer can be frustrating, but they often provide insights into the underlying issue. Here are some steps to troubleshoot common error messages:
Troubleshooting Common Error Messages
When you encounter an error message on your printer, take note of the error code or description and refer to the printer’s manual or the HP support website for guidance. Many error messages have specific troubleshooting steps that you can follow to resolve the issue. For example, if the error message indicates a paper jam, refer to the manual or follow the printer’s instructions to clear the jam. If you need further assistance, HP’s customer support is available to help you with specific error codes or messages.
Resetting the Printer to Factory Settings
If you have tried troubleshooting steps and the error message persists, resetting the printer to factory settings may be necessary. Keep in mind that resetting the printer will erase any personalized settings or configurations you may have made. To reset the printer, access the printer’s settings or control panel and look for the “Restore” or “Reset” option. Follow the instructions provided to initiate the reset process. Once the reset is complete, you will need to reconfigure the printer settings and preferences.
Regular Maintenance Tasks
Printer maintenance plan included regular cleaning , but there are specific maintenance tasks that you should perform to ensure your HP printer’s smooth operation. These tasks target specific areas of the printer and help maintain its performance. Here are some regular maintenance tasks to incorporate into your printer maintenance routine:
Checking and Cleaning the Paper Path
Regularly inspecting and cleaning the paper path helps prevent obstructions and paper jams. Start by turning off the printer and opening the access door to access the paper path. Carefully inspect for any debris, torn paper, or foreign objects that may have become lodged in the paper path. Use a soft cloth or compressed air to gently remove any obstructions. Be cautious not to touch any internal components while cleaning. Once done, close the access door and ensure it is securely latched.
Inspecting and Cleaning the Paper Pickup Rollers
Paper pickup rollers are responsible for feeding paper into the printer. Over time, these rollers can accumulate dust and debris, causing them to slip or fail to pick up paper properly. Inspect the paper pickup rollers regularly to ensure they are clean and in good condition. If there is visible dirt or debris, use a soft cloth or lint-free cloth dampened with water to gently clean the rollers. Avoid using excessive moisture or cleaning fluids that may damage the rollers. Once cleaned, make sure the rollers are completely dry before closing the access door.
Removing Dust and Debris from the Printer
Dust and debris can accumulate inside the printer, hindering its performance and potentially causing damage to internal components. Regularly remove dust and debris by using a soft brush or compressed air to gently clean the interior of the printer. Pay particular attention to areas such as the ink carriage, print heads, and any other accessible surfaces. Avoid using any abrasive materials that could scratch or damage the printer. Cleaning away dust and debris will help maintain the printer’s performance and prevent potential issues.
Scheduling Professional Servicing
While regular maintenance tasks can significantly prolong your printer’s lifespan, there may come a time when professional servicing is needed. Here are some factors to consider when scheduling professional servicing for your HP printer:
Identifying Signs That Require Professional Attention
Certain signs indicate that your printer requires professional servicing. These signs include persistent error messages, recurring printing issues, hardware malfunctions, or any unexplained decline in print quality. If you experience any of these symptoms despite regular maintenance, it may be time to seek professional assistance. Prompt identification and addressing of these signs can prevent further damage and ensure your printer’s longevity.
Finding Authorized Service Centers
When seeking professional servicing, it is important to find authorized service centers that specialize in HP printers. These service centers have the expertise and access to genuine HP parts required for repairs and maintenance. Visit the HP support website or contact HP’s customer support to locate authorized service centers in your area. Choose a reputable service center that has a track record of providing quality service and quick turnaround times.
Creating a Maintenance Schedule
Maintaining a regular maintenance schedule is vital for keeping your HP printer in optimal condition. Create a maintenance schedule that aligns with your usage patterns and the manufacturer’s recommendations. This schedule could include routine cleaning tasks, software updates, and periodic professional servicing. By adhering to a maintenance schedule, you can address potential issues promptly and ensure the continued performance of your HP printer.
In conclusion, properly maintaining your HP printer is essential for its longevity and optimal performance. Regular cleaning, updating software and drivers, using genuine ink cartridges, proper paper handling, maintaining print quality, preventing overheating, avoiding power issues, handling error messages, performing regular maintenance tasks, and scheduling professional servicing are all vital aspects of the printer maintenance plan. By following these guidelines and incorporating them into your routine, you can ensure that your HP printer remains in excellent condition, providing you with high-quality prints for years to come.


